


How to Screen Record on Android: Complete Step-by-Step Guide
Introduction
Screen recording has become an essential feature for Android users. Whether you want to create tutorials, record gameplay, save video calls, or capture important information, screen recording makes it easy. Instead of taking multiple screenshots, you can record everything happening on your screen in real time.
Most modern Android devices now come with a built-in screen recording feature, while older devices may require third-party apps. In this guide, you will learn how to screen record on Android using different methods, along with tips, settings, and troubleshooting solutions.
What Is Screen Recording?
Screen recording is the process of capturing everything displayed on your mobile screen as a video file. It records:
- Apps and games
- Videos and audio (if enabled)
- Touch gestures
- Notifications (optional)
- System actions
This feature is widely used for education, content creation, gaming, and technical support.
Why Use Screen Recording on Android?
There are many practical reasons to use screen recording:
1. Create Tutorials
You can record step-by-step guides to teach others how to use apps or features.
2. Save Important Information
Instead of writing notes, you can record your screen for future reference.
3. Record Gameplay
Gamers often use screen recording to capture gameplay and share it on YouTube or social media.
4. Technical Support
You can show errors or bugs to developers or support teams.
5. Record Video Calls
With permission, you can save important video conversations.
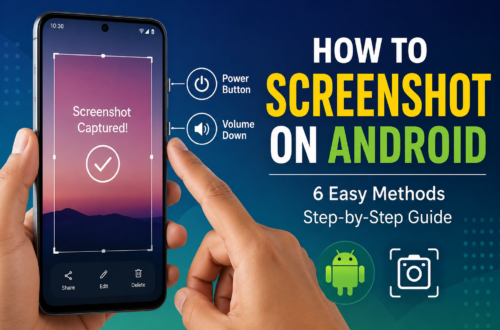
Method 1: Screen Record Using Built-in Android Feature
Most Android 10 and above devices come with a built-in screen recorder.
Steps to Use Built-in Screen Recorder:
- Unlock your phone.
- Swipe down from the top to open Quick Settings.
- Look for Screen Record or Screen Recorder option.
- If you don’t see it, tap the edit icon and add it.
- Tap Screen Record.
- Choose your settings:
- Record audio (device sound or microphone)
- Show touches on screen (optional)
- Tap Start.
A countdown will begin, and your screen recording will start.
To Stop Recording:
- Swipe down and tap Stop, or
- Tap the floating stop button.
Your video will be saved in the Gallery automatically.
Method 2: Screen Record on Samsung Phones
Samsung devices have a built-in screen recorder with extra features.
Steps:
- Swipe down the notification panel.
- Tap Screen Recorder.
- Select sound options:
- No sound
- Media sounds
- Media sounds and microphone
- Tap Start Recording.
Extra Samsung Features:
- Draw on screen while recording
- Facecam recording
- Pause and resume recording
Method 3: Screen Record on Xiaomi Phones
Xiaomi devices also include a built-in screen recorder.
Steps:
- Open Control Center.
- Tap Screen Recorder app icon.
- Press the red record button.
- Adjust settings like resolution and frame rate if needed.
Xiaomi also allows high-quality game recording.
Method 4: Screen Record on OnePlus Devices
OnePlus phones include a smooth screen recording tool.
Steps:
- Swipe down Quick Settings.
- Tap Screen Recorder.
- Choose audio settings.
- Tap Start.
OnePlus also supports internal audio recording in many apps.
Method 5: Using Third-Party Apps
If your Android device does not have a built-in recorder, you can use apps from the Google Play Store.
Popular Screen Recording Apps:
- AZ Screen Recorder
- XRecorder
- Mobizen Screen Recorder
- DU Recorder
- ADV Screen Recorder
How to Use AZ Screen Recorder:
- Install from Play Store.
- Open the app.
- Grant necessary permissions.
- Tap the floating record button.
- Start recording your screen.
Advantages of Third-Party Apps:
- More editing tools
- Facecam recording
- Higher customization
- No time limits (in most apps)
Screen Recording Settings Explained
Most Android screen recorders include settings such as:
1. Resolution
Higher resolution means better video quality but larger file size.
2. Frame Rate (FPS)
Higher FPS gives smoother video (30 FPS or 60 FPS recommended).
3. Audio Source
- Internal audio (system sound)
- Microphone audio
- Both
4. Bitrate
Controls video quality and file size.
How to Find Your Screen Recordings
After recording, your video is saved automatically.
Location:
- Gallery App → Screen Recordings Folder
- File Manager → Movies or Videos Folder
- Screenshots & Screen Recordings Album
Tips for High-Quality Screen Recording
Follow these tips for better results:
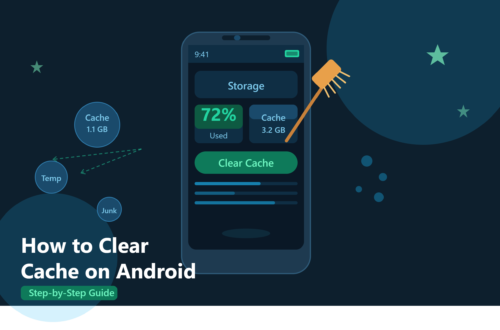
1. Free Up Storage
Make sure you have enough storage before recording.
2. Close Background Apps
This improves performance and reduces lag.
3. Enable Do Not Disturb Mode
Avoid notifications interrupting your recording.
4. Use High Resolution Settings
For professional-looking videos, choose 1080p if available.
5. Keep Phone Charged
Screen recording uses battery quickly.
Common Problems and Solutions
Problem 1: Screen Record Option Not Available
Solution:
- Update your Android version
- Check Quick Settings customization
- Use a third-party app
Problem 2: No Sound in Recording
Solution:
- Enable microphone or internal audio
- Check app permissions
Problem 3: Lag During Recording
Solution:
- Close unnecessary apps
- Lower resolution or FPS
Problem 4: Recording Stops Automatically
Solution:
- Check storage space
- Disable battery saver mode
Is Screen Recording Safe?
Yes, screen recording is completely safe when used properly. However, always respect privacy laws and avoid recording:
- Private conversations without permission
- Sensitive personal information
- Protected content
Best Uses of Screen Recording
Screen recording is widely used for:
- YouTube tutorials
- Online teaching
- Gaming videos
- App demonstrations
- Tech support guides
It is a powerful tool for content creators and educators.
Conclusion
Screen recording on Android is a simple yet powerful feature that allows you to capture everything happening on your screen. Whether you are using a built-in recorder on Samsung, Xiaomi, OnePlus, or a third-party app, the process is easy and user-friendly.
By following the steps in this guide, you can quickly start recording your screen, customize settings for better quality, and solve common issues. Screen recording helps you create tutorials, share gameplay, and save important information effortlessly.
With regular practice, you can use this feature to improve productivity and create professional-quality content directly from your Android device.